
Builder floor construction stages run in a fixed order, and each stage covers the evidence of the one before. That is the whole difficulty of supervising a build. By the time you can see a finished wall, the plumbing inside it is invisible. By the time the floor is tiled, the waterproofing underneath is decided. A build is only as good as the checks made at the moment each layer was still open, which is why an inspection schedule matters more than any single site visit.
This is written for the owner who is building rather than buying: someone who has appointed a contractor, or is about to, and wants to know what to look at and when. None of it requires an engineering degree. All of it requires being present at the right moments, because the right moments are short.

The Three Inspections That Decide Everything
If you only attend three inspections on the whole build, make them these.
- Steel, the day before a slab pour. Once concrete is placed, the reinforcement is sealed for the life of the building. Bar diameter, spacing, laps, cover blocks and shuttering can all be checked in twenty minutes before the pour and cannot be checked at all afterwards.
- Water lines, before plaster. A pressure test on the concealed supply lines takes an hour. Discovering the same leak after plastering means breaking a finished wall, and the repair will always be visible.
- Waterproofing, before tiling. The ponding test on a terrace or a bathroom floor is a bucket of water and a day of waiting. Skip it and the first monsoon finds the failure for you, into the ceiling of the floor below.
Everything else on the list can be corrected at modest cost later. These three cannot.
Builder Floor Construction Stages, Stage by Stage
The sequence below is the normal one for a Delhi builder floor on a plot with stilt parking and four floors. Timelines differ from site to site, but the order rarely does.
1. Setting out and excavation. The centre lines of the columns and the boundary of the plot are marked on the ground and compared with the sanctioned plan. Check that the setback from the road and from the neighbouring plot matches the drawing, because a setback shortfall is the most common reason a plan is refused at the building department stage. Confirm the anti-termite treatment is applied to the excavated surface before the lean concrete goes in, and that the excavation has reached firm soil rather than loose fill.
2. Foundation and plinth. The footing reinforcement must match the drawing in bar size and spacing, sit on cover blocks rather than on the soil, and be clean of mud before the pour. Then come the plinth beams, the damp-proof course, and the filling inside the plinth. That filling is worth watching: it is compacted in layers, and a plinth filled in one loose heap will settle under the floor for years afterwards. Finally, check the finished plinth level against the road level and the drainage outlet.
3. The RCC frame. This is the stage that carries everything else. Before each column and slab pour, confirm four things: the bar diameter and spacing against the drawing, the length of the laps at joints, the cover blocks that hold the steel away from the shutter, and the tightness of the shuttering so that no grout escapes. Ask for the concrete grade on the delivery challan, watch that water is not added to the mix at the site to make it flow more easily, and insist that cube samples are cast and tested at seven and twenty-eight days. Curing runs for at least a week after each pour, and the slab stays propped until it has gained strength, not until the contractor needs the props elsewhere. A frame built this way is also what makes a construction quality check possible later, because there is something solid to measure.
4. Brickwork and blockwork. Check that bricks are soaked before laying, that the mortar ratio is the one specified and mixed on a board rather than in a heap on the floor, and that courses are level and plumb. Look at the lintel band over every opening and the sill band under every window; these small beams hold the masonry together. Openings for services are easier to leave at this stage than to cut later.
5. Concealed plumbing and electrical. Everything that will disappear into a wall passes through this stage. Water lines are pressure-tested with a gauge left on the line so the reading can be photographed. Drainage lines are checked for the fall toward the stack and for the correct fittings at every bend. Electrical conduiting goes in before plaster, with the boxes set to the finishing level, and the earthing pit and the distribution board position settled early. Our note on plumbing pressure and drainage tests sets out what a proper test looks like.
6. Plaster and waterproofing. Plaster thickness is checked against the level line, not by eye. Waterproofing comes next on the terrace, the bathroom floors, the balconies and around the terrace parapet. The ponding test follows: fill with water, leave it for at least a day, and inspect the ceiling below. Waterproofing failures in Delhi usually come from a poorly detailed junction, a pipe penetration or the upstand at the parapet, all of which are visible at this stage and none of which are visible after tiling. The accepted practice for plaster, curing and testing is written down in the CPWD specifications for building works, and it is worth citing rather than arguing from memory.
7. Flooring and tiling. Check levels and, in bathrooms, the fall toward the drain, which should be visible as a slope of roughly one in eighty to one in a hundred rather than a pool that dries in a corner. Check grouting at the edges and against the walls, because that is where water enters. Check the threshold at every bathroom door, which is where a poorly detailed floor meets the room outside.
8. Doors, windows, railings and staircase. Frames should be plumb and square, and the gap between frame and opening filled with a sealant and backer rod rather than plain mortar. Window sills must fall outward. Staircase risers should be equal; a single high step is the most common cause of a fall in a house. Railing heights and infill should be checked against what the National Building Code requires rather than against what looks adequate.
9. Finishes and commissioning. Painting, fittings, the lift if there is one, the water tank, the meter and the pump all arrive at the end. Commissioning is the stage owners skip and later regret: run every tap hot and cold, flush every drain, switch on every circuit and the air conditioners together, and test the lift and the pump under load. Our lift checklist covers what to confirm before handover on a building with a lift.
10. Snagging and handover. The last stage is a written list, not a walk-around. Every item is numbered, photographed, and closed in writing. The documents that should change hands at this point, including the drawings as built and the certificates, are listed in the handover documents guide.
What to Photograph at Every Stage
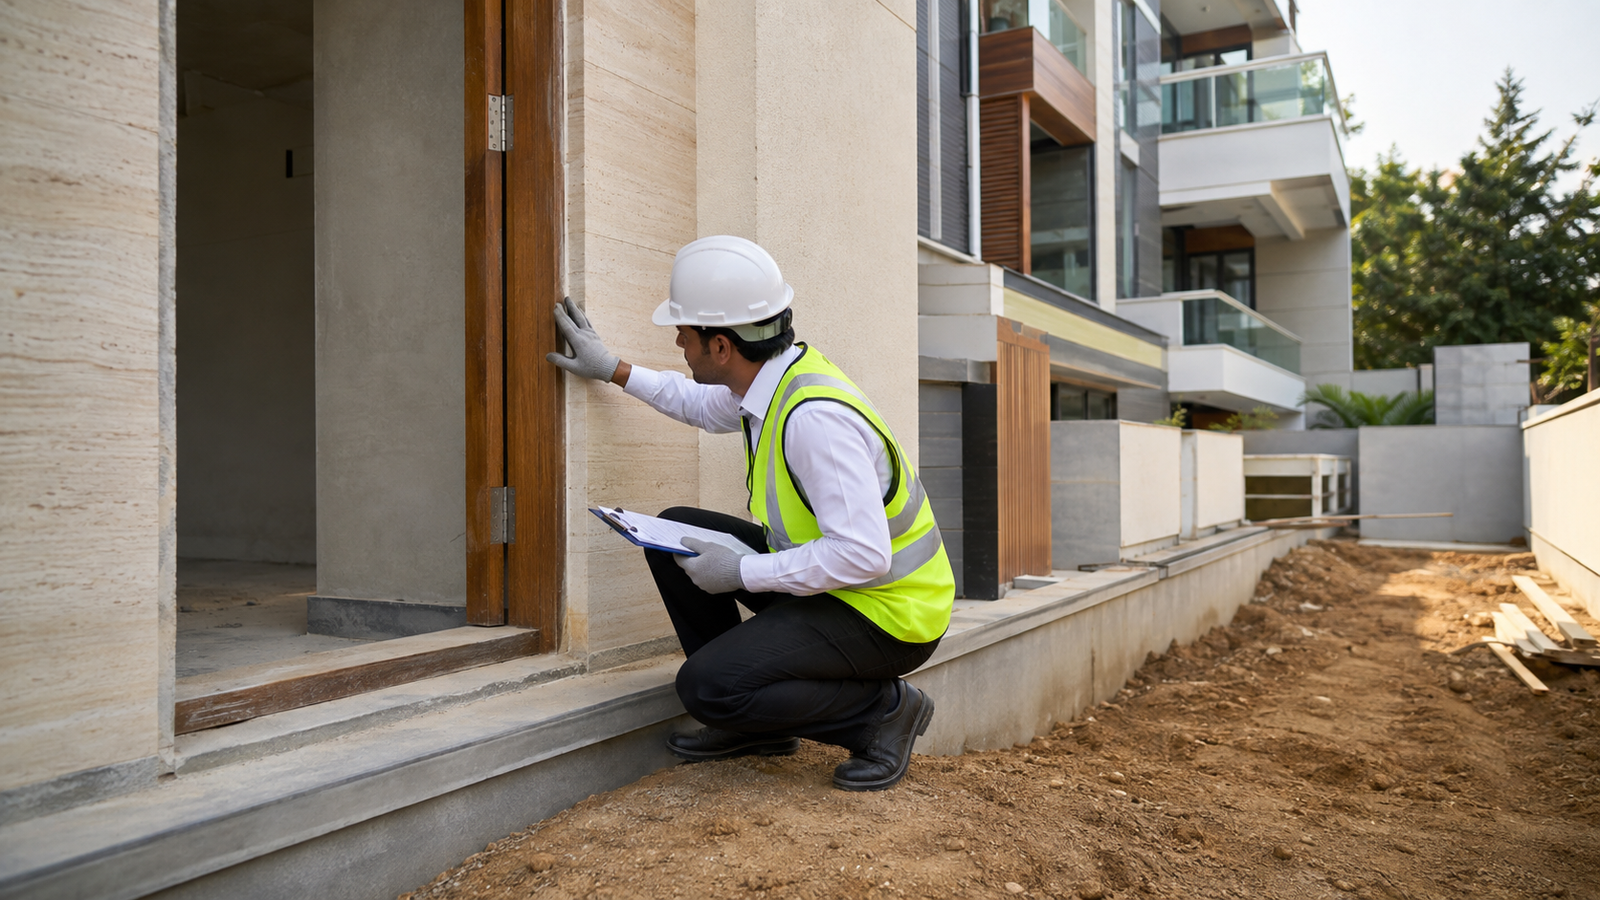
Photographs are the only record that survives the build, and they cost nothing. Take four at each hold point: one wide shot that shows the room or the bay, one close-up of the detail being checked, one of any instrument reading, and one dated shot including a fixed reference point such as a column or a door opening.
The set worth having at the end includes the reinforcement before every pour, the pipe layout in every wall and ceiling before plaster, the waterproofing before tile, the conduit runs, the earthing pit, and the concrete delivery challans. Store them in one folder by date. When a leak appears two years later, the photograph of the pipe run inside that wall is what turns a demolition job into a targeted repair.
Who Does the Checking
Three parties can carry out these checks, and they are not interchangeable.
The contractor’s own engineer signs off on work his team has done, which is useful for records and weak as a control. An owner who attends the hold points personally catches the obvious failures, provided the visits are scheduled in advance and the work is not poured, plastered or tiled before he arrives. An independent engineer engaged for the frame stage only is the strongest middle option: a defined scope, a handful of visits, and a written report on the steel and the concrete.
Whichever route you take, the checks have to be written into the agreement. A stage inspection that is not a contractual hold point will be treated as an interruption. Our note on what an EPC contract covers explains where inspection rights and hold points normally sit, and the sanctioned plan check explains the approval baseline the whole build is measured against.
Where Stage Inspections Break Down
Most failures are not technical. They are scheduling failures. The pour happens a day early because the mixer is available. The plaster goes on in the evening because the team is free. The owner arrives on Sunday to find the stage he wanted to inspect has been closed for three days.
The fix is boring and it works: agree the hold points in writing at the start, ask for a day’s notice before each one, and make payment for that stage conditional on the inspection being recorded. Contractors respect a schedule they have signed more than a request made on the day.
The second failure is inspecting everything and recording nothing. A defect that was noted verbally at the site and never written down is a defect that will be argued about later, usually when the team has moved to another plot.
What This Costs in Time
Stage inspections do not lengthen a build. Waiting is built into the schedule already, through curing, de-shuttering and the drying of plaster. What inspections change is the number of repairs after handover, and repairs after handover are the expensive ones because they involve breaking finished work.
The stage-by-stage timeline for a builder floor shows where these checks fall across a normal programme, and the note on construction cost per square foot explains why supervision and testing belong inside the cost of the work rather than outside it. Both are cheaper than a second visit from a tiler.