A builder floor inspection checklist earns its keep on the second visit, not the first. The first visit answers a single question: could I live here? The second answers a harder one: will this building cost me money in year two? Those are different questions, and they need different tools, different timing and a different frame of mind.
Most buyers tour a floor twice and run the same tour both times. They walk the same rooms, admire the same light and leave with the same impression. Then the monsoon arrives, the shaft cover leaks, the kitchen drain backs up, and none of it was ever hidden. It simply was never tested.
Why the Second Visit Needs Its Own Purpose
On a first visit you are buying a feeling. On a second visit you are buying a building. That shift changes what you touch, what you ask for and who you bring. A first visit takes forty minutes and ends in a good mood. A second visit takes two hours, produces a snag list, and often ends with a smaller offer or a decision to walk away.
There is also a practical reason to separate the two. The seller and the broker behave differently when they know the visit is technical. Water gets switched on, shaft covers get opened, and the plan comes out of a folder. Ask for these things in advance and the visit becomes a test rather than a performance.
Before You Go: What to Arrange
- Confirm who will be present and that they can open the electrical panel, the shaft covers and the terrace door. A caretaker who cannot open anything turns a technical visit into another tour.
- Ask for the water pump to be running for half an hour before you arrive. Pressure tested on a cold system tells you very little about a house with three taps open.
- Ask for the sanctioned plan and the completion certificate to be there in person. Promised documents arrive after the token amount, which is the wrong order.
- Choose a weekday morning. Daylight exposes damp patches that a warm evening bulb hides, and weekday water pressure is closer to what you will actually live with.
- Take someone who does not want the flat. They will ask the questions you are too polite to ask.
The Builder Floor Inspection Checklist, Room by Room
Work from the street inward and finish at the terrace. That is the direction water travels and the direction structural movement shows itself, so the order matters more than it looks.
Water: Pressure, Drainage and Hot Water
- Open the kitchen tap and both bathroom taps together, then flush a toilet. Note whether the flow collapses. Ask which tank serves this floor and who cleans it, because an overhead tank on the terrace and an underground tank with a booster behave very differently in summer.
- Listen at the floor trap while the basin runs. A gurgle means a weak trap seal, and that smell will be yours to live with.
- Pour a bucket of water across the bathroom floor. It should reach the drain without standing in a film for more than a minute. A floor that holds water quietly rots the door frame beside it.
- Check the hot water points. Geyser position, whether the switch is a proper 15-amp point and whether the piping is insulated on the run. A geyser wired to a lighting circuit is a small fire waiting for a cold January.
Electrical: Load, Earthing and the Sockets
- Read the sanctioned load on the electricity bill, not the load the builder quotes. Then add up what you will actually run: air conditioners, geyser, induction hob, microwave, and the lift if it is shared.
- Open the distribution board and photograph it. Look for an RCCB, for separate circuits for lights, power and air conditioning, and for a board that has room left rather than one stuffed with taped joints.
- Plug a socket tester into three points in different rooms. Reversed polarity is common in reworked wiring, cheap to fix and dangerous to ignore.
- Ask where the earthing pit is and whether it is shared with the other floors. Shared earthing is normal in a builder floor, but it needs maintenance that somebody has to own. Our guide to electrical load in a builder floor explains what the numbers should look like.
Seepage and Waterproofing: The Four Places to Look
- The ceiling of the floor below. This is the single best test of the waterproofing above you, and almost nobody asks to see it. If the flat below has a stained bathroom ceiling, the membrane under your feet has already failed once.
- The underside of the roof slab, if you are buying the top floor, and the terrace parapet joints. Look at the junction where the parapet meets the slab, not the middle of the roof.
- External walls below windows and around the chhajja. Rising damp shows as paint blistering at skirting level and as a tide mark that stops at a consistent height.
- The stilt ceiling and the boundary retaining wall. Water that sits against the wall below is water that will find the ground floor.
A faint damp smell in a closed bedroom is evidence, even when no patch is visible. Ask when the room was last painted, and note that fresh paint over a wet wall fails within one monsoon. The full sequence of waterproofing tests before possession is worth reading before you stand in that bathroom.
Doors, Windows and Hardware
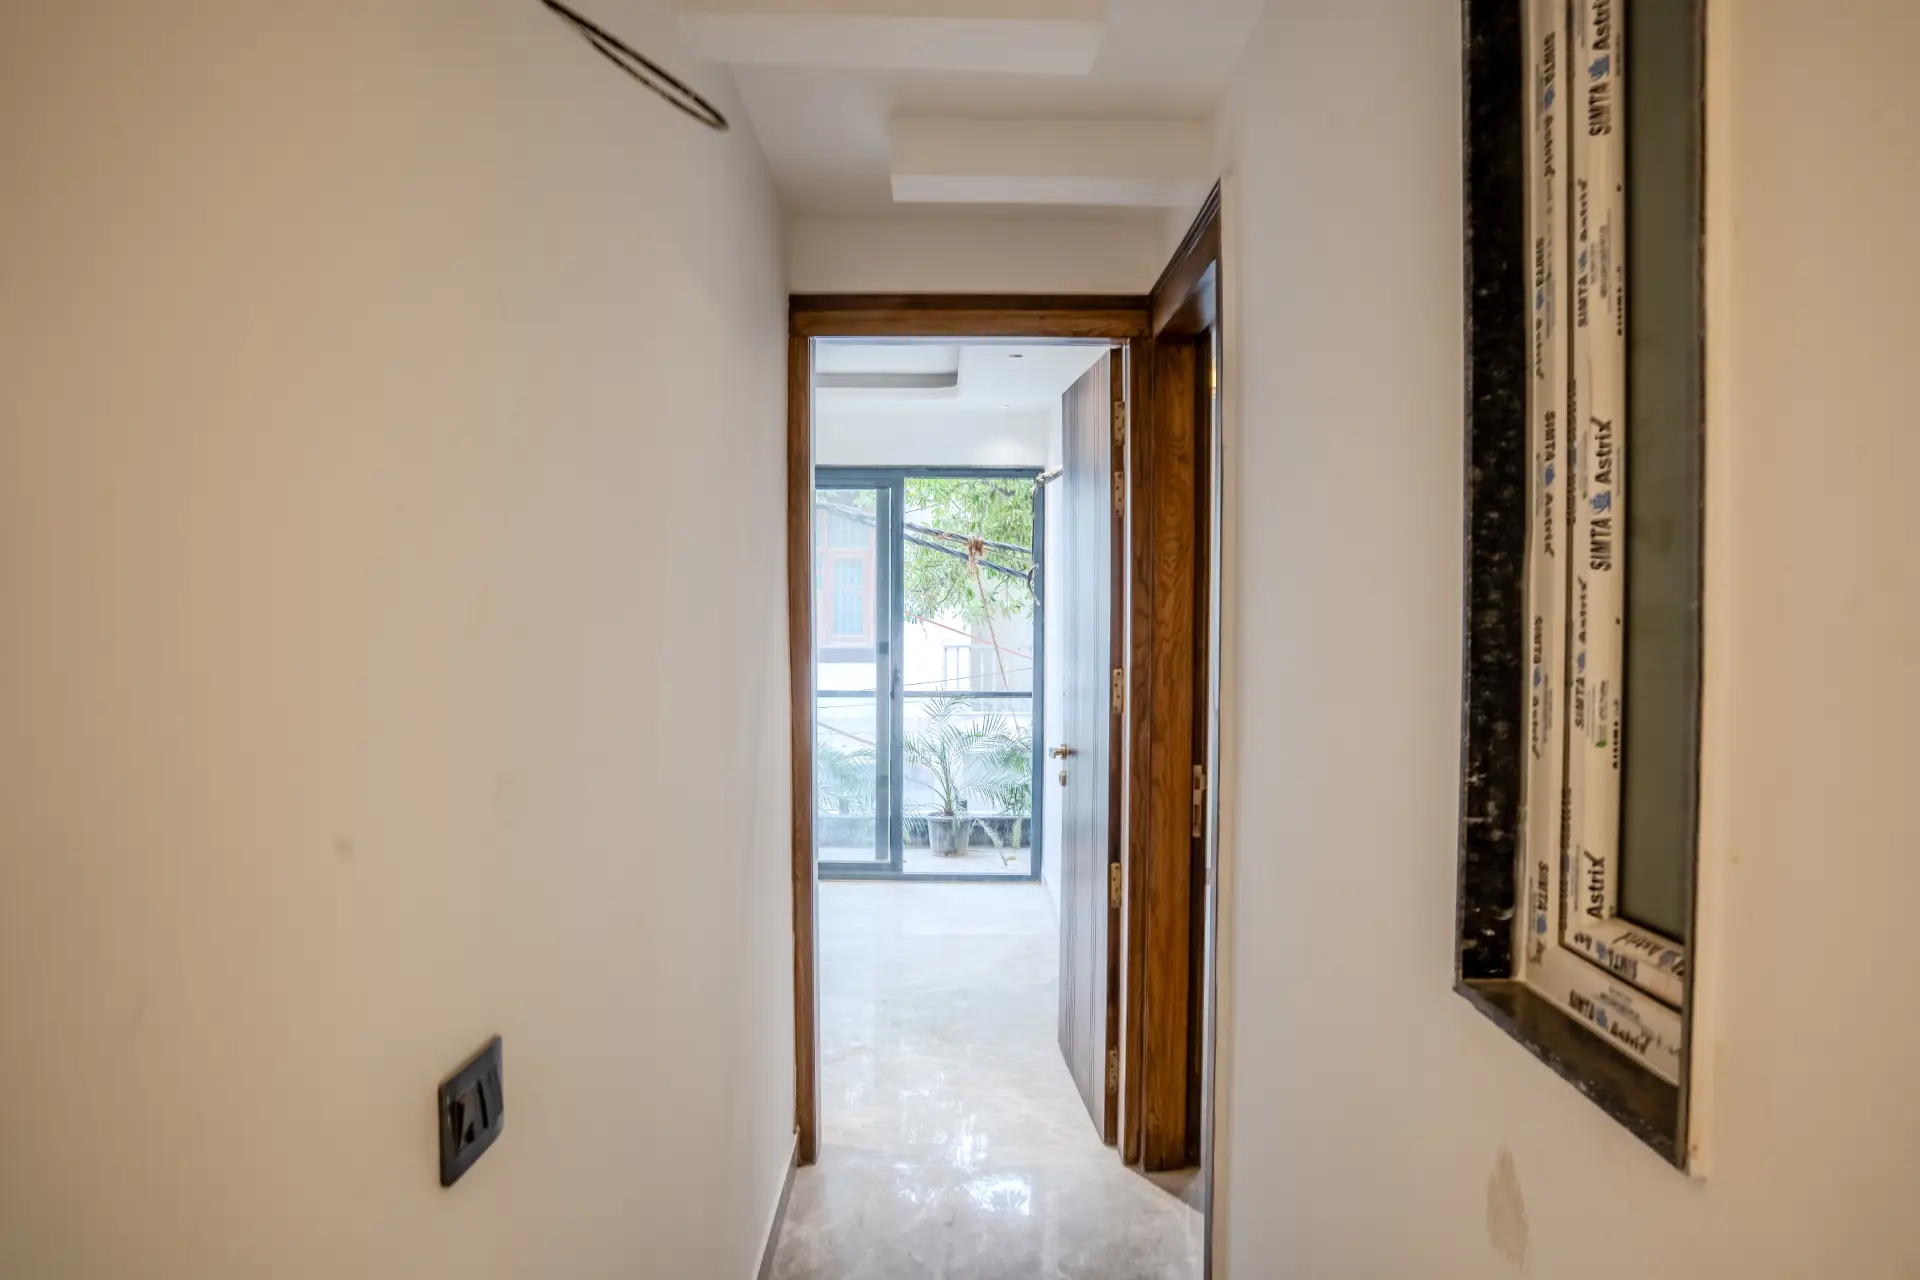
- Open and close every door and window yourself. Rub marks on the floor, a frame that catches at the top, and a latch that needs a shoulder are all signs of settlement or poor fixing, not of a stiff hinge.
- Check the window drainage and sealant. Weep holes should be open. The seal at the frame-to-wall junction should be continuous, because that thin line is where most monsoon water enters a bedroom.
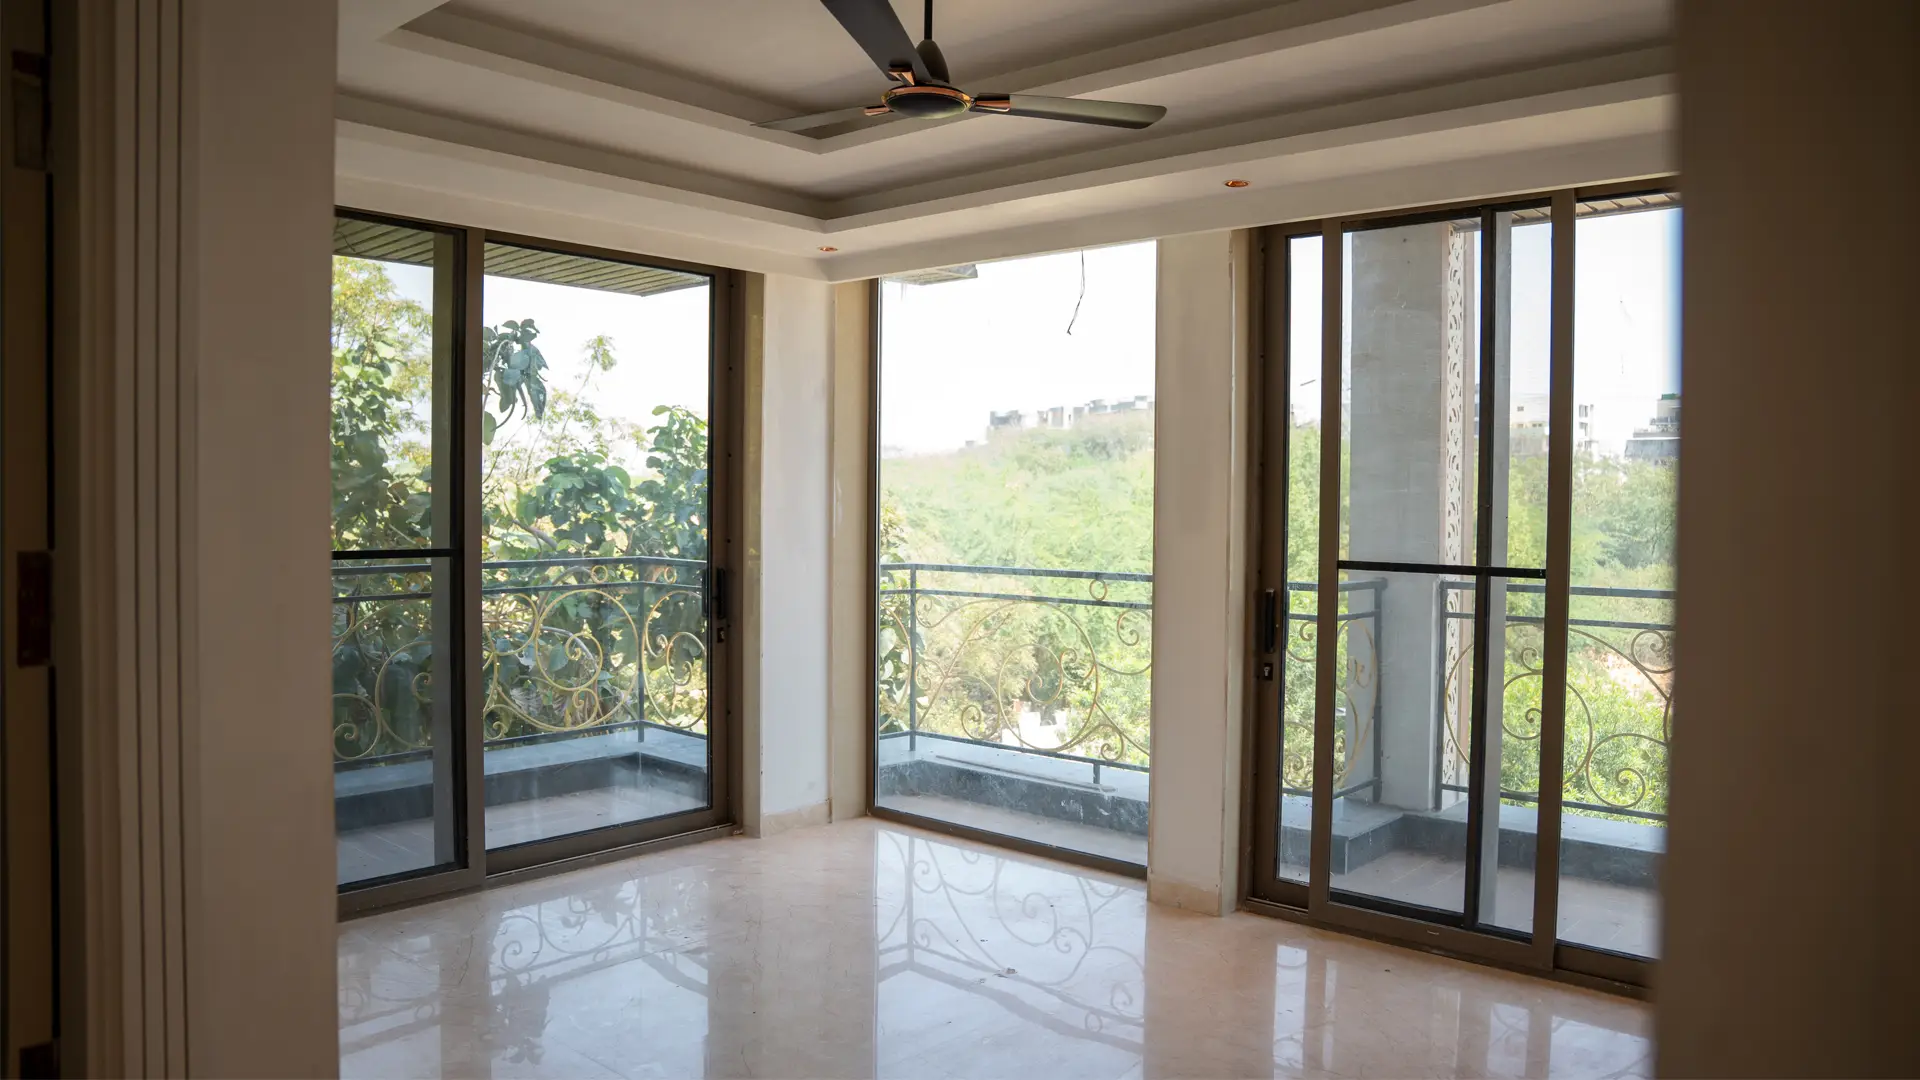
- Test the balcony door lock and the mesh track. A second-floor balcony door that does not lock properly becomes an insurance problem the day you move in.
Kitchen and Utility
- Find the exhaust route. A chimney that discharges into a shaft rather than to open air will push cooking smells into the bedroom beside it.
- Run the kitchen tap for two minutes and watch under the sink for a slow weep at the trap and the waste pipe joint.
- Check the utility for real. Can it take a washing machine and a bucket at the same time? Is there a floor drain, and does the washing machine outlet have a proper trap rather than a hose pushed into a hole?
Common Areas, the Stilt and the Staircase
- Walk the staircase with the light off. Daytime visibility tells you whether the stair has a window or a borrowed shaft. Narrow, dark stairs are a daily cost, not a one-time inconvenience.
- Measure the stair width and the headroom at the landing, and compare it with the National Building Code of India published by the Bureau of Indian Standards. You do not need the whole code, only the minimum for the elements you use every day.
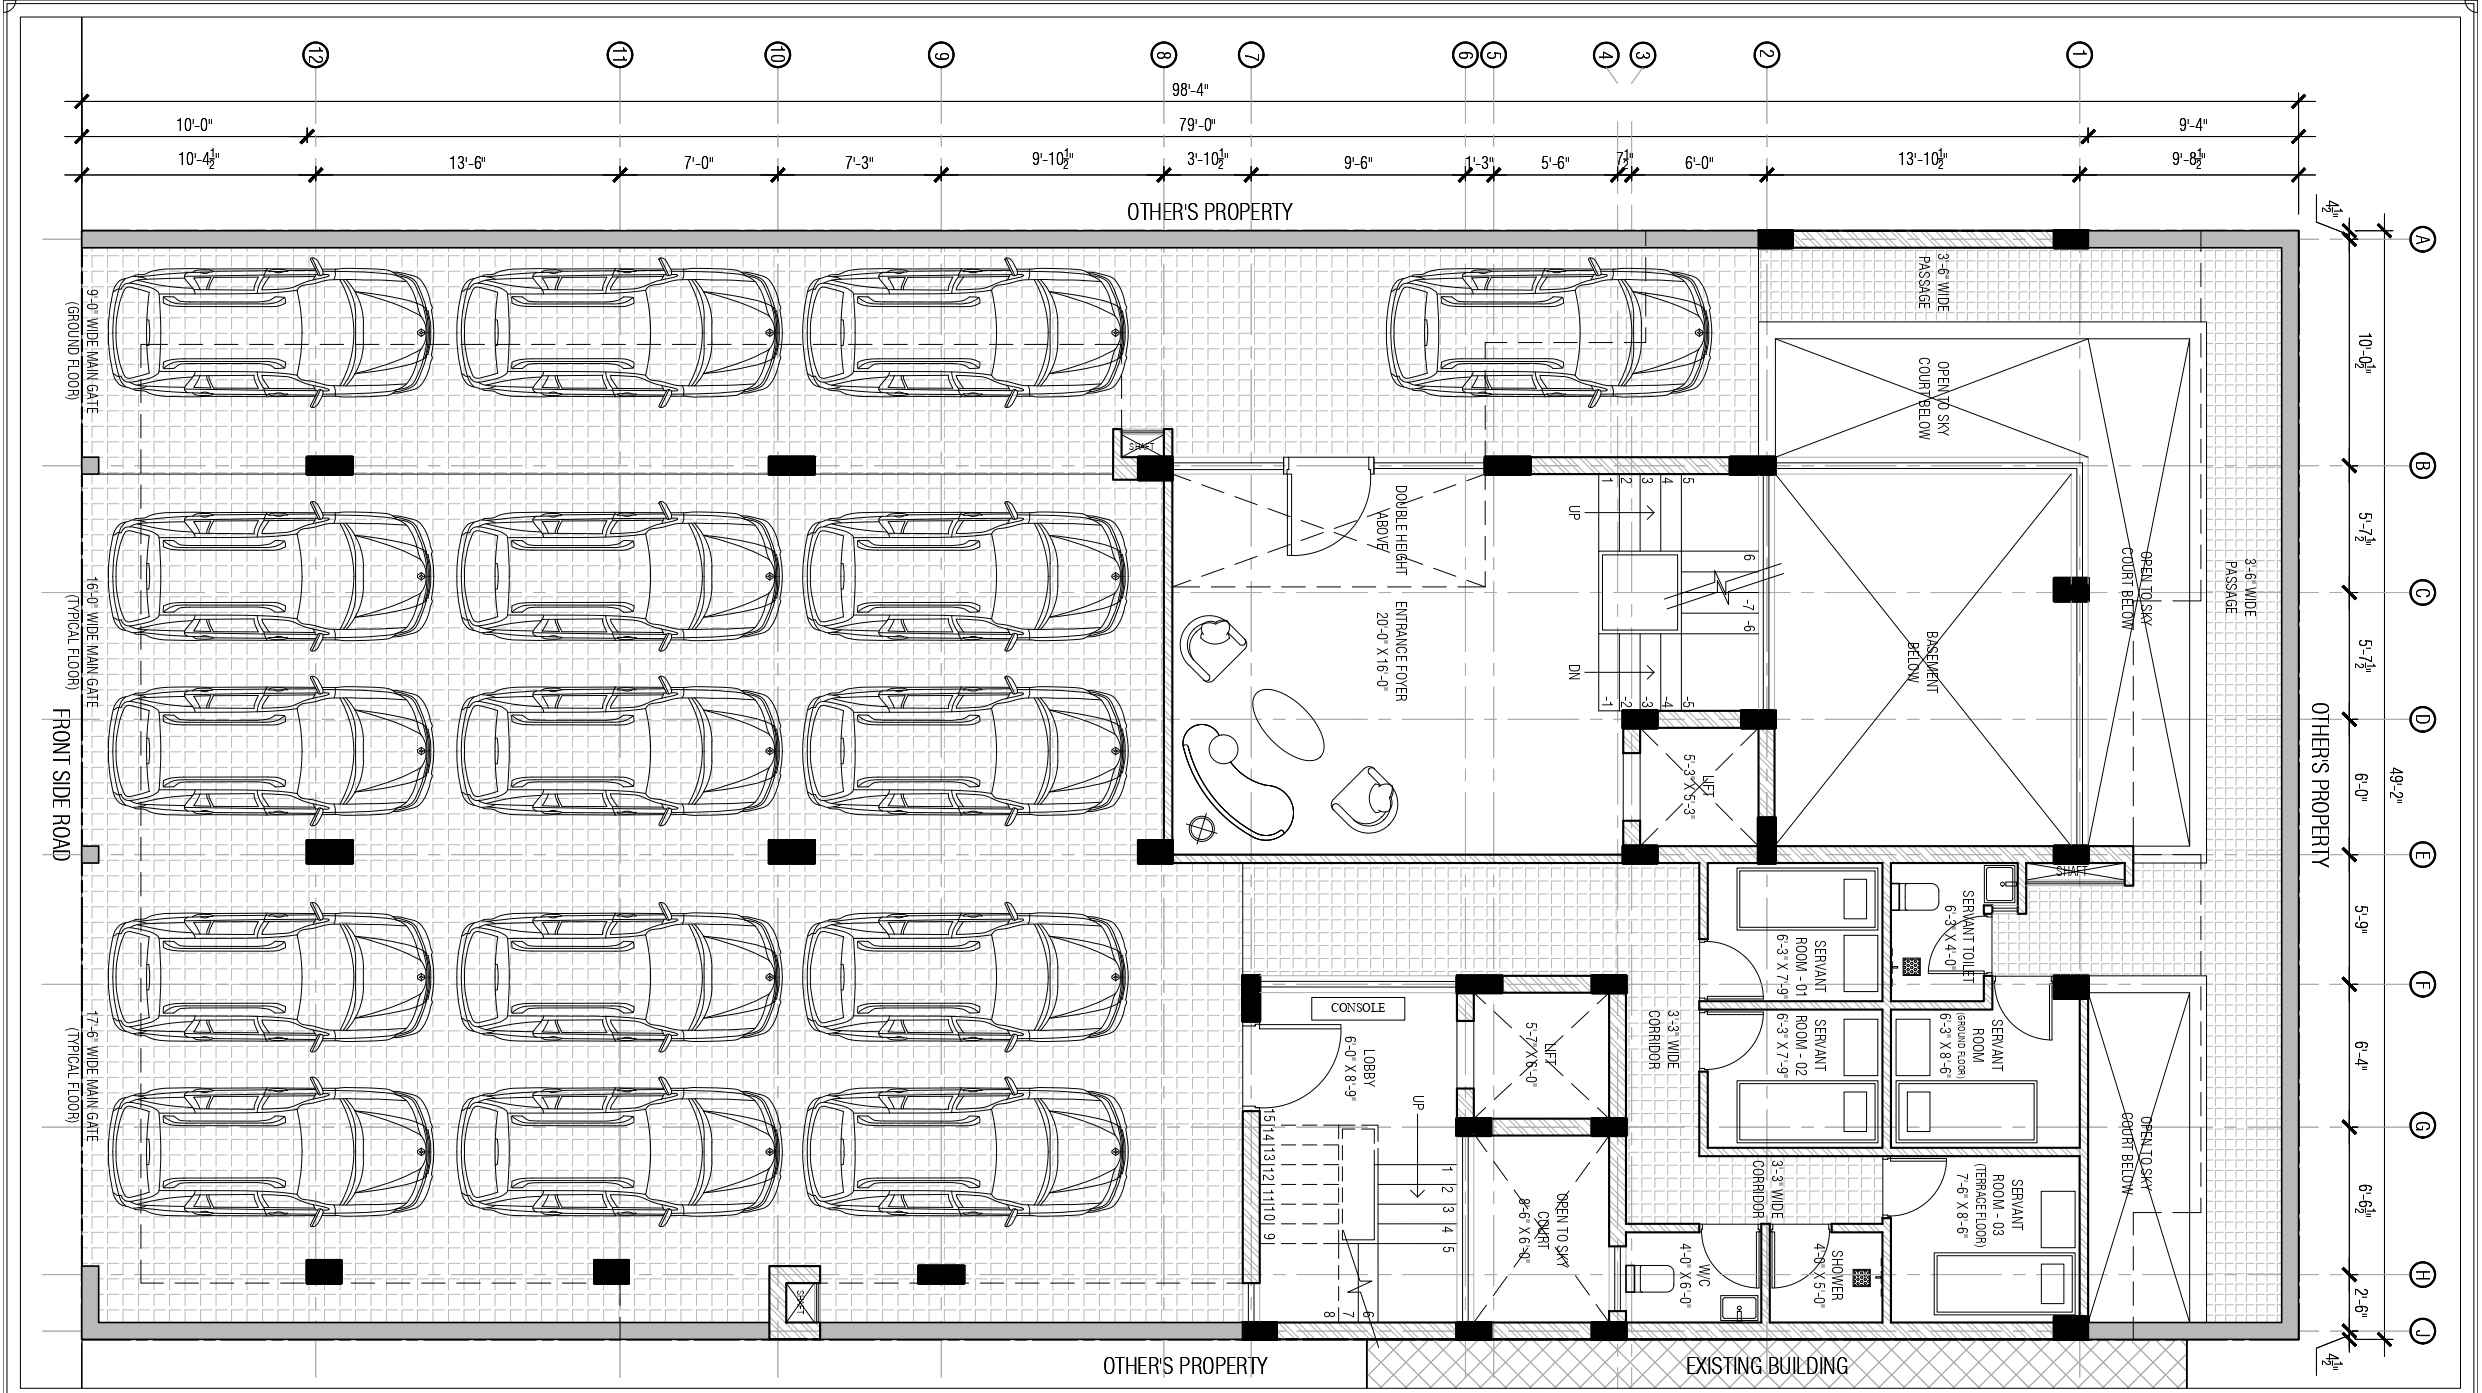
- Check the stilt level. Where does rain water drain to, is there a sump and a pump, does the ramp slope toward the gate or away from it, and has any part of the stilt been closed off with shutters?
- Ask about the lift. Which floors it serves, where the machine room sits, and who holds the maintenance contract. Our builder floor lift checklist covers the questions that decide whether the lift is an asset or a monthly argument.
What to Bring
- A torch, even at noon. Shafts, lofts, the meter box and the space under the kitchen sink are all dark.
- A phone with enough charge for twenty photographs and a three-minute video.
- A socket tester, which costs less than a family dinner and settles the wiring question in a minute.
- A measuring tape, and a spirit level or a marble to check floor slope at the bathroom door.
- A strip of tissue and a small plastic sheet to tape under a suspect ceiling joint.
- A printed copy of the sanctioned plan, so you can count columns against the drawing on the spot.
How to Record What You Find
A visit that produces no written record produces no leverage. Name every photograph with the room and the issue, not with a number. “Bathroom two, ceiling below, damp patch” is a negotiating point. “IMG_4471” is a memory you will misplace by evening.
Record one continuous video as you walk, and narrate it as you go. Speak the readings out loud: pressure at the kitchen tap with two taps open, the socket tester result, the headroom in the stilt. Then sit in the car and write a single page with three columns: what is wrong, what it will cost to fix, and who should fix it before registry. Keep that page. It becomes the defect list you hand over if you buy, and the reason you did not if you walk.
Documents Worth Re-checking on the Second Visit
- Sanctioned plan against the building in front of you. Count the floors, then compare the setbacks and the stilt with the drawing. Our guide to checking a sanctioned building plan in Delhi shows what to look for.
- The land share written as a fraction, and whether the fractions of all floors add up to the whole plot. That number is what you actually own.
- The completion certificate and the latest property tax receipt, which together show that the corporation accepts the building as built.
- Electricity and water connections in whose name they stand, and what the transfer involves.
Three Answers That Should End the Deal
- There is no sanction for the floors that exist, and the seller’s answer is that “everyone here is like this”.
- The land share is unwritten, or the fractions in the deeds already exceed the plot.
- Water is entering at more than two separate locations, and the seller cannot say which one was repaired and when.
What a Second Visit Cannot Tell You
An inspection is not a structural audit and it is not a title search. Diagonal cracks wider than a hairline, a column with exposed reinforcement or a slab that deflects under foot need a structural engineer, not a checklist. Two visits also cannot confirm who owns the land or whether a mortgage sits on it. That work belongs to a lawyer, and it belongs before the token amount rather than after it.
If you would rather run this checklist on a shortlisted floor with someone who does it weekly, Rana Infra walks South Delhi properties with buyers and puts the findings in writing.